
Of all the different fly styles and patterns available for bass, none is more exhilarating to fish than the Foam Bass Popper. Just the thought of a largemouth breaking the surface for a popper makes most fly anglers blush. And with the violent strikes and top-water explosions associated with these patterns, it's no wonder popping for bass is the preferred way to spend a summer afternoon.
Popper fishing can be very productive under the right conditions. Once water temperatures warm up and your local lakes develop some weed cover, poppers become an invaluable tool for luring big bass away from their holding spots. These weed-choked areas are almost impossible to fish with conventional tackle, leaving most weedy waterways untouched and ready to be fished.
When fishing poppers, there's no real trick to the presentation. Simply cast your fly near the desired target, and then let the water settle where the fly lands. Strip the fly back in an irregular fashion, alternating the quickness (focusing on pauses) and length of the line strips. Varying the retrieve in this fashion imitates many of the different terrestrial critters that regularly fall into the water, and even inactive bass won't waste much time checking out your offering after a few quick pops.
The Foam Bass Popper is a classic pattern that's passed the test of time. The high floating body and soft undulating tail hackles have been fooling fish for years and will continue doing so as long as anglers continue attaching them to their lines.
Materials List
| Hook | Daiichi Stinger Hook or Mustad 37187 Hook (Size 4) |
| Thread | Flat Waxed Nylon Thread |
| Hackle | Black Saddle Hackle |
| Tail | Black Marabou; Grizzly Hackle |
| Body | Foam Popper Bodies |
| Eyes | 3D Mold Eyes |
| Legs | White Round Rubber |
| Paint | Black Spray Paint |
Step-by-Step Tying Instructions for the Foam Bass Popper
| Step 1 — Stick a needle in the body cavity of the foam popper and paint the top half black with a few passes of black spray paint. | 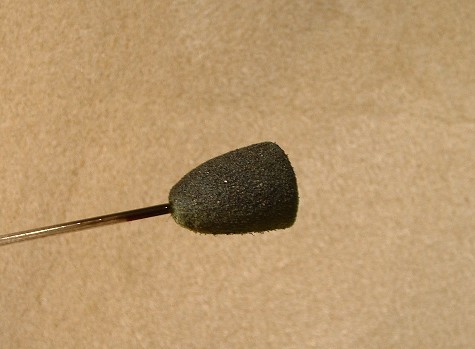 |
| Step 2 — Place the hook in the vice and secure tightly. | 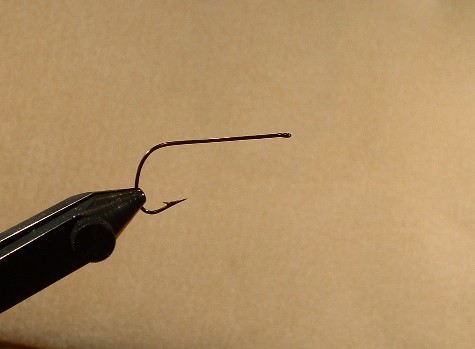 |
| Step 3 — Attach the thread to the hook shank and wrap until you reach the point on the hook shank directly above the barb. | 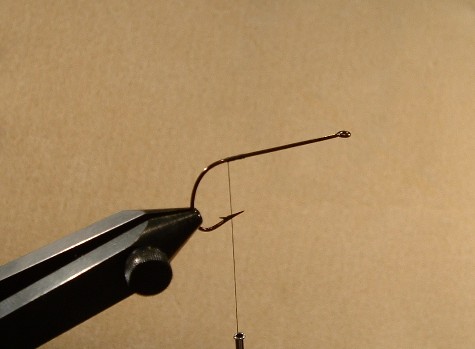 |
| Step 4 — Clip a small cluster of black marabou fibers and tie them down to the top of the hook shank facing off the rear of the fly. Make sure the marabou cluster does not twist around the hook shank. | 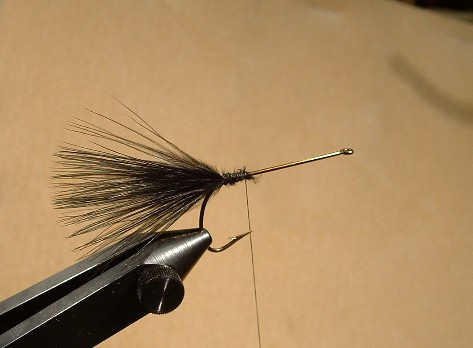 |
| Step 5 — Select four black hackle fibers and strip the fuzz from the base of the feather. Place the feathers into two groups (two feathers each) with the concave sides lined up. | 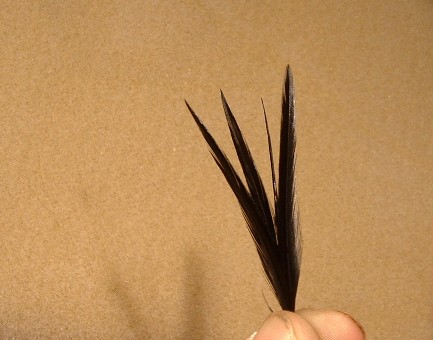 |
| Step 6 — Tie one pair of feathers onto each side of the tail, making sure the feathers splay outwards. | 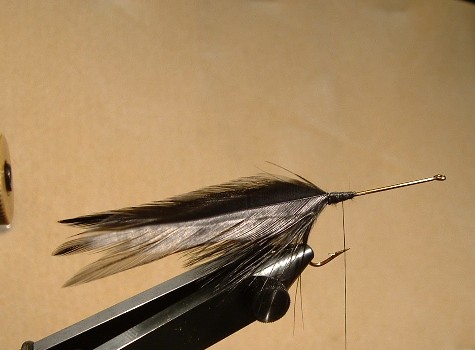 |
| Step 7 — Tie in two more black saddle hackles by the tips of the hackle. | 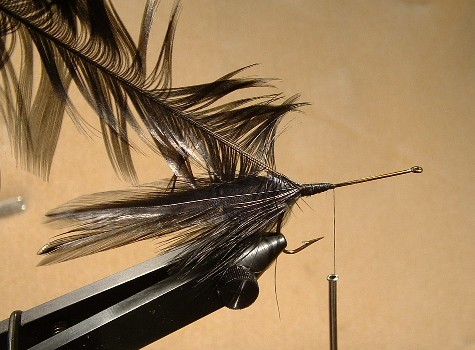 |
| Step 8 — Attach hackle at the bend of the hook and wrap toward the eye so that the hook shank is covered, then tie off the tag end. | 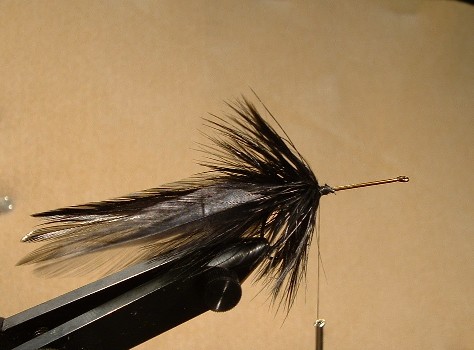 |
| Step 9 — In front of this hackle collar, tie down one pair of rubber legs to each side of the body. | 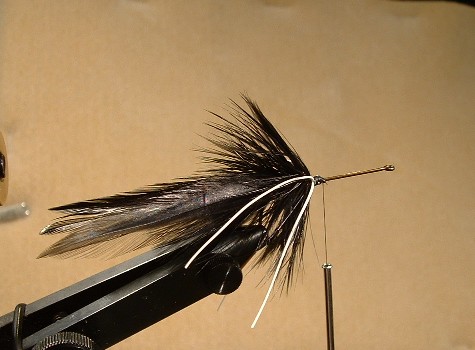 |
| Step 10 — Mix a small batch of 5-minute epoxy and apply a small amount to the hook shank. Slide the painted popper body over the hook shank and allow epoxy to set. | 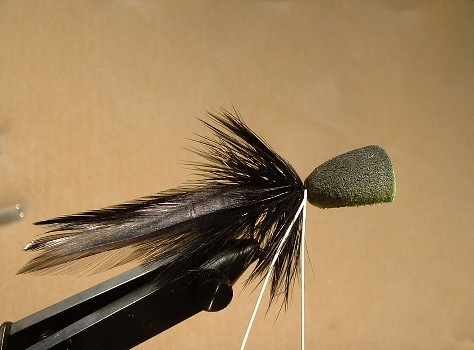 |
| Step 11 — Attach an eye to each side of the head using the remaining epoxy and allow epoxy to set. | 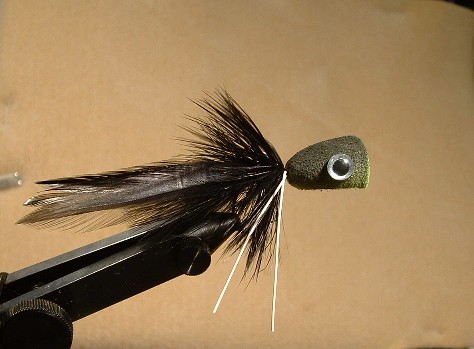 |
- 15990 views

