There are many ways to go about building a campfire, but in the final result one is not much different from another. You light the fire, then especially during its earliest stages, it requires tending and the addition of increasingly large pieces of fuel up to full-sized pieces of firewood. Then through the evening, you're called on to add more wood over and over again as the fire burns down.
The exception is the Upside Down Campfire. The key is efficiency. Your campfire heat energy radiates equally in all directions. With this style, you'll spend more time assembling/building the fire before you light it, but once it's going you may not have to touch it again all evening long.
Tip: Shop camping gear at Bass Pro Shops here
If this style of campfire sounds intriguing, here's ten easy steps to building a fire with the ability to burn for a long time, untended:
How to Light the Upside Down Campfire
We're the first to admit, part of the allure of the campfire is tending it. Through the evening you poke at it. You add more logs when it looks like you'll need it. You rake coals from it if you'll be doing some cooking over them. This is especially true if you're camping alone. The campfire is a companion. Staring into it is the campers television just way better.
But sometimes you want a fire you don't have to worry about tending. You can light it and it burns through the evening without you having to touch it again until it's time to put it out and crawl into the sleeping bag. When that's your goal, the Upside Down Campfire is the way to go.
Here's How to Build an Upside Down Campfire in 10 Easy Steps
1. Gather all the firewood you would have on hand to burn in a regular campfire through the evening. You're looking for split, dry, well-seasoned wood like you find in the bundles at a gas station or at the check-in station at the state park or other public campground.
 2. Also have on hand the various sizes of kindling and tinder you would have on hand to light a traditional campfire.
3. In you're fire pit or fireplace, begin by assembling a solid platform of the largest pieces of wood. You want to build a solid foundation for the fire. Carefully lay the logs side by side and nestle them together to minimize the gaps between the logs. Make this foundation roughly square by laying down pieces side by side to equal the length of a piece of firewood.
4. When the bottom layer is laid tightly in place, make the second layer with full-sized pieces laying perpendicular to the logs in the bottom layer. Again, carefully nestle these pieces side by side to minimize gaps between the logs.
add your tinder layers, add a fire starter") 5. The length of time the fire will burn without attention, is determined by the number of these layers of full-sized pieces. Three to four layers of well-seasoned hardwood should burn well into the night.
5. The length of time the fire will burn without attention, is determined by the number of these layers of full-sized pieces. Three to four layers of well-seasoned hardwood should burn well into the night.
6. With the full-sized layers in place, the next layer or two are comprised of the kindling pieces. These are dry, thumb-sized or thinner piece. Lay each perpendicular to the layer below, just as before. If you can acquire scrap cedar or pitchy pine (flatwood) kindling, the fire will catch that much faster.
7. On top of the kindling layer(s) go your tinder layers. This can be small, dry twigs and branches, shavings, etc. and even incorporate shredded newspapers if you like. (If you choose to include paper in your tinder, just be sure there's little or no wind as burning paper can easily be blown from a fire to places where you do not want it to burn).
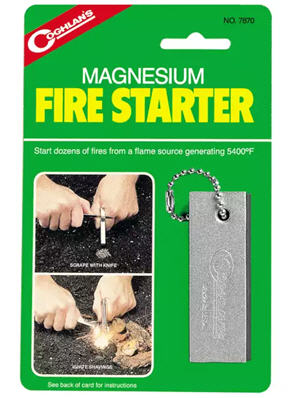
8. Mound the tinder near the center of the fire and add a fire starter of some kind, like a pulled-apart cotton ball, compressed shavings, or dry pinecones.
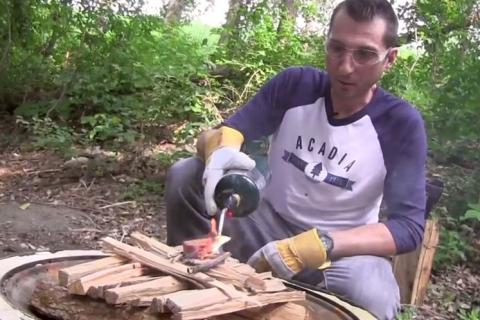
9. We recommend a torch to get the tinder going. It allows you to easily light the fire from the top and focus the flame where you need it to get the tinder going.
10. Once the tinder is burning well, you may want to blow on it a bit to get the heat working down into the kindling layer(s). When the kindling catches, you're on your way to a fire that will burn from the top down, and last all night long.
Tip: Watch video: Why Build an Upside Down Campfire?
 Remember to Protect the Forest and Don't Move Firewood

You might be wondering why moving firewood is a bad idea. Tree-killing insects and diseases can lurk in or on firewood. These insects and diseases can’t move far on their own, but when people move firewood they can jump hundreds of miles. New infestations destroy our forests, property values, and cost huge sums of money to control. Non-native plants damage natural habitats and species.
Check out dontmovefirewood.org/how-to-help
Why Build an Upside Down Campfire? Watch this video and find out.
- 3069 views