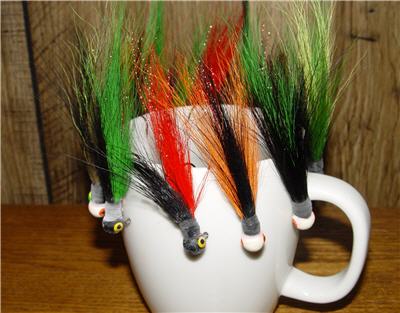
There is a certain joy in potential. After applying a coat of super glue to the collar wrap, I removed the bucktail jig from the vise and hung it on the edge of a cup. It joined a dozen others I’d tied during the evening session. Some would end up buried in a stump or boulder, lost forever. Others would endure a great day of fishing, then be retired. There’s always the chance, however, that one could even end up hooking the fish of a lifetime. I couldn’t help but wonder what adventures lay in store.
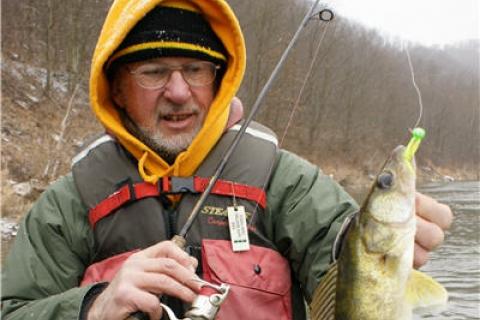
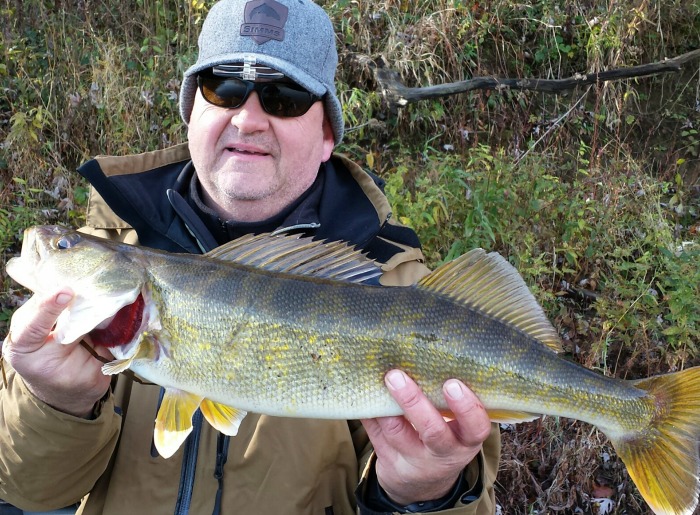
During a guide trip the next day, I was working a section of bank that had been consistently productive the past couple of weeks. While my client pitched a jig to shore, I worked the current seam directly below the boat, allowing the recently tied bucktail to hover vertically a few inches off the bottom. That’s when I felt it: a strong tap triggered an equally strong hookset. Just a few minutes later, a 29-inch walleye was in the net.
 |
| These bucktails are lined up and ready for a hard day's work. Its a good idea to have several styles and colors on hand. |
Bucktail jigs are great for catching smallmouth and walleyes in the fall. Their profile and action in the water are classic producers of good fish. They are also relatively cheap to make. This is great news considering you’ll want to have several patterns on hand, and you are almost guaranteed to lose several on most outings.
Tying your own bucktails is easy, makes economic sense, and gives you the freedom to experiment with various jighead styles and bucktail colors. A good way to acquire a supply of jigheads is to purchase them in bulk, ones such as Bass Pro Shops Painted Jigheads. Basic colors such as black and white can be used with a variety of dressing colors. A rotary vise makes tying bucktail jigs a more pleasant task. The ability to rotate the vise while adding materials is a big plus.
Tying Steps:
1. Secure a jighead in your rotary vise.
2. Wind a layer of thread on to the collar of the jighead. This will give the bucktail something to bite into.
3. A touch of flashabou adds some flash to the jig. Tie in six to 10 longer strands as you’re laying down the initial thread layer on the jig collar.
4. Apply your bucktail in three to four smaller clusters, rotating the vise as you proceed from one application to the next. Don’t try to clump all of the material onto the jig at once. You can mix bucktail colors during this stage to create different patterns.
5. Hold on to the small clump of bucktail material with thumb and forefinger. Wind a wrap or two of thread around the clump to initially secure it, then slowly release your “pinch” as you proceed to wrap it. The torque will spread out the clump around the collar of the jighead (with a bit of practice).
6. When you’re done applying the bucktail material, trim the flashabou so it’s roughly the same length as the deer hair.
7. When you have finished tying the jig, give the thread collar a coat of head cement or super glue. I use super glue, and though it dries to a slightly unattractive milky finish, it helps hold the wraps tight.
 |
| Bucktail jigs are consistent producers of quality fish. This 29-inch walleye couldn't resist the temptation of the bait's profile and movement. |
- 21234 views

