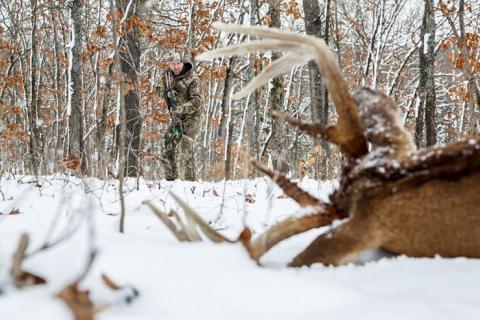
The care you take with a deer you’ve bagged, whether it’s your first animal or a once-in-a-lifetime wildlife trophy, can determine the quality of the mount you end up hanging on your wall. To get the best mount possible, consider the following advice from veteran taxidermists Lewis Lee, of Plains, Virginia, and Lee Fleming, of Bear Ridge Taxidermy in Maurertown, Virginia. Both of these experienced taxidermists have won numerous awards for their work.
Click here to shop hunting gear for deer at Bass Pro Shops.
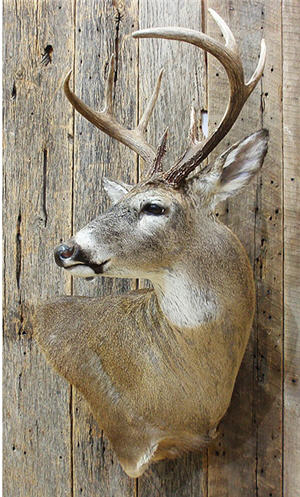 A quality deer mount can bring the enjoyment and memories of a hunt back any time you look at it, even if hunting seasons are closed and opening day seems like its years away. A deer doesn’t have to be a huge trophy to look appealing on the wall and take you back mentally to the crisp autumn woods.
What counts is that the animal has special personal meaning for you, or your son or daughter. And that it’s a great taxidermy job!
Unfortunately, every deer season, after hunters bag whitetails or mule deer they want to display on the wall, they discover they have made major errors in taking care of the animal and the mount will either be poor in quality or not worth investing hundreds of dollars on.
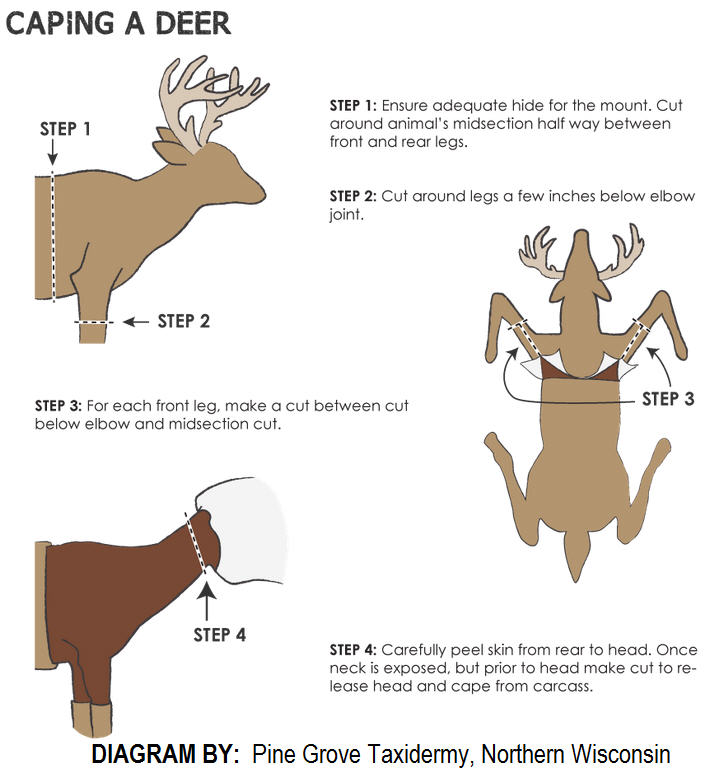
Click to see simple step by step how-to instructions for caping a deer.
Lewis Lee, who works with his brother and son in the Plains, Virginia, pleads with hunters to take care of the animal properly. “We taxidermists can’t perform miracles. We can’t create a quality mount for the wall when we have to deal with spoiled hides, capes cut too short, drag marks on the animal, or throats that have been carelessly and needlessly slit.”
TIP: Bass Pro Shops Wildlife Creations Taxidermy Studio. Our professional artists and taxidermists produce replicas and lifelike game mounts in meticulous detail and vibrant color.
Think About Whether You’ll Mount the Deer Ahead of Time
Lee says the planning should begin even before you squeeze the trigger or send an arrow on its flight. “Never shoot an animal that you might later decide to mount in the neck or head. The best bet is to aim just behind the shoulder.” Both head and neck shots cause damage to the cape so severe that is almost impossible for the taxidermist to fix.
Extra Tip: Many hunters like to shoot for the shoulder itself or front of the shoulder. But when possible, try to avoid this shot as well. All modern firearm and archery equipment will kill deer quickly with heart or lung shots that are aimed just BEHIND the shoulder (depending on he shot angle of course). This gives the taxidermist the best material to work with of all.
Don’t Slit the Deer's Throat
“I’ve seen way too many capes virtually destroyed by cutting the deer’s throat,” says Lee Fleming. It’s also a very risky thing to do. “If the animal is alive enough that you need to cut its throat, it’s dangerous to walk right up to it with a knife. If the animal is not alive, then there’s no reason to do it.” Fleming says all deer will bleed out enough from the arrow or bullet.
Gutting the Deer
When field dressing, make one cut up the underside of the animal from the center between the hind legs to a point a few inches BELOW the middle of the front legs. Be sure to never take this cut all the way forward to the front legs.
Some hunters like knives with “gutting hooks” for this task, but a regular hunting knife will work just fine if you are careful not to penetrate the paunch. Make sure the blade is sharp and keep fingers below the knife, between it and the animal’s internal organs.
Extra Tip: As you field dress the deer, do your best to avoid getting blood on the hide. Turn the animal over on its stomach at this point and drain out any remaining blood. After that, insert a stick in the body cavity separating the sides of the animal to allow air to circulate. At this point you can rest, take photos, and let the animal cool down or proceed to haul it out of the woods to your home or hunting camp.
Getting the Deer Out of the Woods
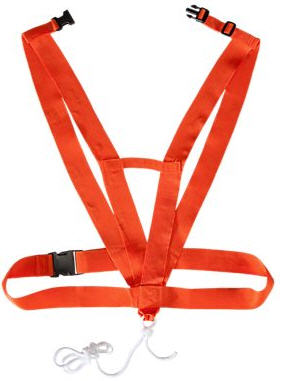
Deluxe Deer Drag
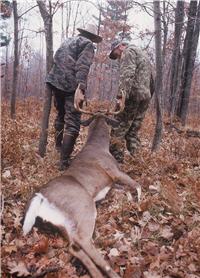
Avoid dragging an animal by the hind legs. The reason for this is clear: you can damage the hair by pulling it against the grain. When Fleming faces the task of getting a deer out of the woods, he ties the front legs up around the antlers. He then drags it with the rope held up high. Taking the animal out of the woods this way avoids any contact with the ground on the part of the deer that will be mounted. The shoulder and head are up in the air and safely out of contact with dirt, leaves and sticks. Deer drag ropes with handles can make this chore easier.
A mistake you seldom see anymore is putting the deer on top of a hood or roof of a vehicle. But if you put it in the back of a pickup truck, which many people still do, be sure to place a tarp over the animal to protect it from rain, dust, sun, and wind. Then take the animal home or to the taxidermist’s shop as quickly as possible.
If you’d rather hang the animal to age for a few days, that’s fine if temperatures are cool enough—in the 40’s or lower. Make sure you hang the animal in the shade. Solar heat can warm the hide and meat quickly.
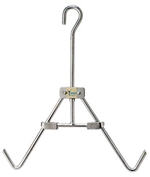
Shop: Adjustable Game T-Hanger at basspro.com
Extra Tip: One of the best approaches of all is to simply deliver the whole animal to the taxidermist after the hunt. They will be more than happy to cape the animal out for you so they make sure they obtain all the material they need to produce a quality mount.
Removing the Deer Cape
Before you even think about skinning or caping your own deer, realize where you need to make the cuts. Lots of hides are ruined for shoulder mounts by being cut off too far forward on the animal.
“Cut along the center of the animal at the backside of the deer’s front legs, says Fleming. “If you cut in front of the legs a taxidermist won’t have enough hide to work with.”
An even safer approach is recommended by Lewis Lee. He suggests skinning the entire animal, starting at the rear legs, and delivering the whole hide to the taxidermist. If you use this approach you don’t have to make the extra cut around the middle of the deer.
Extra Tip: Unless you’re experienced at caping, don’t try to remove the hide from the face of the deer. This is a tricky, delicate task. For most hunters, the best bet is to cut the head off at the neck after you’ve skinned it down close to the base of the skull.
Step by Step Guide to Caping a Deer
What to Do With the Deer Hide
Most taxidermists don’t recommend salting the hide, unless you’re hunting out in the wilderness and can’t get back to civilization for a few days. Instead, fold the hide flesh-to-flesh. At this point it can be stored with the head intact in a cooler or refrigerator for several days. If you can’t get to the taxidermist that quick, the head and hide can be frozen.
Extra Tip: After skinning the deer, be sure not to leave the cape and head lying around for very long before getting it inside a cooler. “The blood, soil, and moisture that might be on a cape make it the perfect place for bacteria to grow,” says Fleming. “Once bacteria begin to grow, the hair will slip. At that point the cape is ruined and you can’t get a quality mount.”
The Payoff? You Can Relive the Hunt
In summary, think about whether you might want to mount an animal even before you go hunting. Then use these tips from the moment the animal is down to make sure you present the taxidermist with the best raw materials possible for him to perform his artistry and craftsmanship.
When you do your part, the reward a few months later will be a mount that will allow you to relive the memories of your hunt any time you look at it during the long off season. It’s hard to think of a better payoff than that!
- 78933 views

