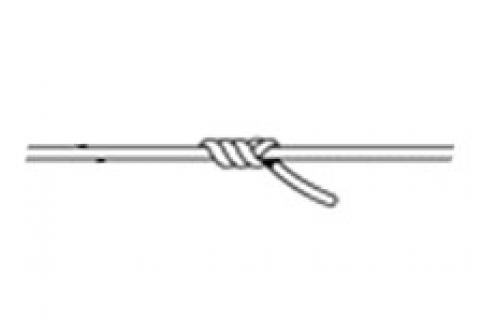
Non-Slip Mono-Loop
This is an exceptionally strong loop when tied correctly. But be sure to use the right number of turns (as determined by the line's strength rating — see Step 2) and tighten your knot very carefully.
| Step 1 This is one of the few knots where you begin the knot before you insert the line in the hook's eye. Make a simple overhand knot. Bring the tag end through the eye and back through the overhand knot. You must return the tag end through the overhand knot the same way you entered it. | ||||||||||||
 | ||||||||||||
| Step 2 Make the recommended number of turns with the tag end around the standing line.
| ||||||||||||
 | ||||||||||||
| Step 3 Return the tag end through the overhand knot the same way you exited the knot. | ||||||||||||
 | ||||||||||||
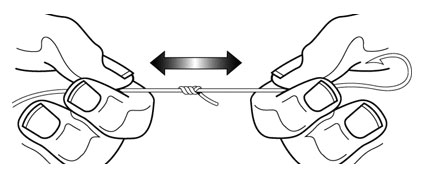
| Step 4 Draw on the tag end until the knot forms together. Then pull on the standing line to close the knot well. Finally, pull on both the tag end and standing line to assure the connection is as tight as possible. | ||||||||||||
 | ||||||||||||
| Sizing the Loop The size of the loop is determined by three factors:
|
| Want to see more fishing knots? Visit the Fishing Knot Library. |
- 7977 views

