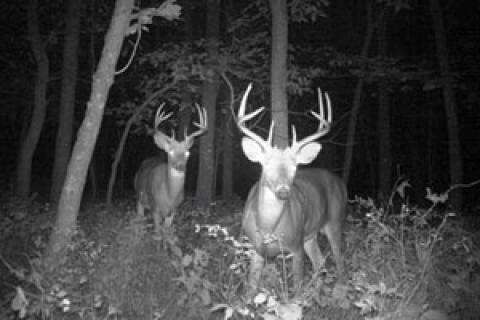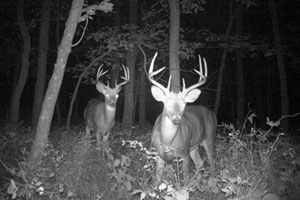
If ever there was a piece of deer hunting equipment that has been universally embraced by sportsmen, it's the trail camera. I wish I'd bought stock in some of these companies when they first came out. I think every hunter in the woods has at least a couple.
 It's easy to understand why. Not only can game cameras help you determine where deer are traveling and when, they can allow you to carefully study antlers and body features to age bucks and decide which ones are ready to harvest and which need to be passed up to grow another year. They can also give you a good idea of the population level and the buck-to-doe ratios.
If you're one of the few who haven't yet delved into the use of these scouting aids, or if you're just getting started and need a bit of basic advice, here are some tips on using these valuable tools that can help you find out what's living in the areas you hunt and where they are traveling.
Find the Right Placement for Your Game Camera
The first step you should take is to carefully read and then re-read the camera's instructions. Next, you need to decide where to place them. A good starting spot is along suspected trails leading to and from feeding and bedding areas. Near doe bedding areas and entrance points to feed fields are other good spots, as well as at water holes and mineral licks, fresh scrapes, rub lines and funnels.
Before strapping the camera to a tree, use a compass to find a spot where you can hopefully place the camera facing north or south. This will help you avoid sun glare and backlighting. Clear away brush or grasses in the viewing area that could blow in the wind and cause false shutter activations.
Select a tree within the coverage area of your camera. Strap it firmly to the trunk at least 2 feet high to avoid squirrel shots, and then test the activation system.
Avoid disturbing the deer by always placing your cameras during the middle of the day, when they're likely bedded. Check cameras at this time, too.
Game Camera Settings
Set a delay of a few seconds to one minute between shots. On a trail or funnel, set it fairly fast. At a feeding area, space the shutter clicks wider apart, so you don't shoot too many pictures of the same animal.
Understanding the Trail Camera Images & Video
Use the cameras to figure out travel patterns, the sex ratio, population density and health of the herd. They're also particularly valuable for studying antlers and body features to try to carefully age and rough score deer. It's a lot easier to do this in the comfort of your home than in the field as an animal walks quickly past you and you only have a split second to decide. If you need help, you can even take the photos to a biologist or taxidermist to get a good read on how old a buck is or what it might score.
You can also learn from the time a deer was photographed what its travel pattern is. For instance if a location turns up photos stamped 10 p.m., you need to backtrack closer to the bedding area and hang your stand in thicker, rougher terrain or a more remote area where you can catch that buck moving in daylight. If a camera shows a scrape being visited just after sunset, backtrack along the direction the film shows the buck coming from about 50-150 yards and set up there so you see the buck in shooting light.
That in the end is the most important benefit of all of trail cameras: getting an idea what's on the property and how old particular deer are.
While trail cameras won't replace good old-fashioned scouting, they are a valuable aid that can help you monitor a few key locations in the woods when you can't be there yourself.
- 14691 views

