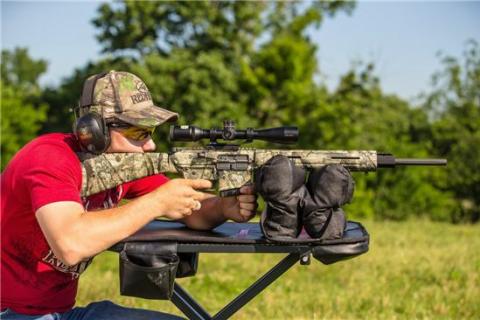
Many new and even not-so new hunters and shooters believe that sighting in a rifle is difficult or complicated, but it really isn't. Whether you've purchased a new rifle, you're putting a new rifle scope on an old rifle, or you're just trying some new ammunition, here's eight things you need to know to take the mystery out of sighting in a rifle.
1. The Objective of Sighting-In a Rifle
in your rifle.
The objective of sighting-in is to get the rifle's sights and its bore in alignment. The first thing to understand is the difference between sighting in a rifle and "accuracy," as the two are sometimes confused. Accuracy is the measure of a rifle's ability to place repeated shots close to each other. A rifle that is properly sighted in is simply one that is predictably placing its shots at certain known distances. A rifle that is inherently accurate still needs to be sighted in or you won't hit what you are aiming at. Conversely, a rifle that is sighted in properly doesn't automatically mean that it will shoot tight groups.
2. Gravity and Bullets
As we learned in high school physics, gravity forces a bullet to start dropping toward the ground as soon as it leaves the muzzle of the rifle. At what point it actually hits the ground will depend on how high you are aiming, and the ballistics of the cartridge being fired. By sighting in a rifle, we are determining how high the rifle will shoot at various known distances.
3. Trying New Ammo
If you're just trying some new ammo in a previously sighted-in rifle, skip to the next step. Otherwise, the first thing to do is to "bore sight" the rifle to hopefully save some time and ammo once we actually get to the shooting range. This is basically a rough sighting in.
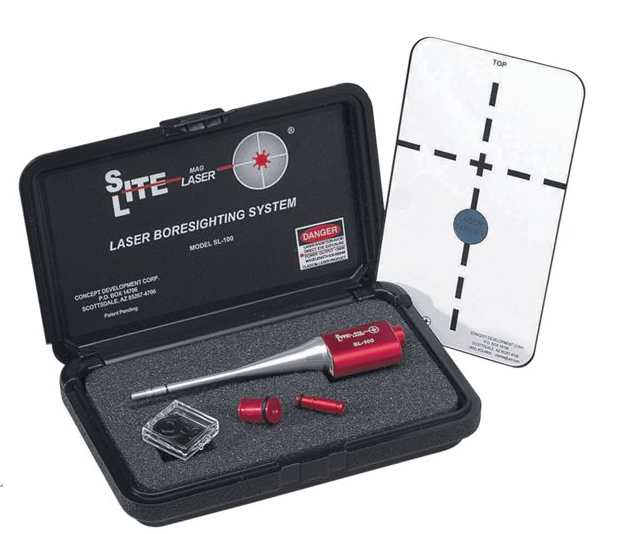
This is best done with a boresighter like the Site-Lite Mag Laser system which will show where your rifle is currently pointing in relation to your sights or scope. There are two types of boresighters: ones that use an optical device inserted into the muzzle of the rifle, which is then viewed through the rifle's scope — these can be used at home; and those that project a laser onto your actual target and which can be used with iron sights or scopes — these are best used at the shooting range.
Tip: Shop quality boresighters at Bass Pro Shops, keyword "Boresighter"
Whichever type of boresighter you use, once you see where your bore is aiming, you simply follow the instructions and adjust your scope or iron sights to align your sight picture with the bore. If you don't have a boresighter, you can accomplish a cruder version of this process on a bolt-action rifle by removing the bolt and looking down the bore at your target at no more than 50 yards away. Center your target in your view down the bore and then adjust your sights or scope to point at the target as well. Boresighting will help get your first shot on the paper, but is no substitute for actual sighting in with real shooting at the range.
4. The Shooting Range
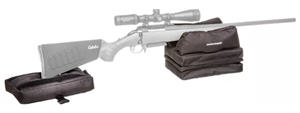
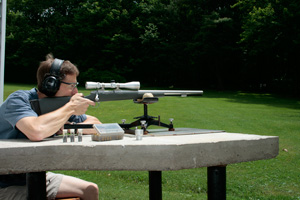
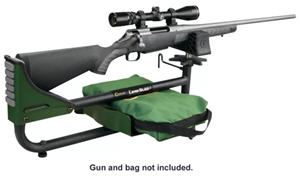
Now it's time to go to the shooting range. Whether you go to an actual gun club or just an improvised range behind your house, sighting in a rifle is not the time to practice your shooting from various positions. At the range you need to eliminate as much of the element of human error from the process of sighting in as possible. This is not a test of your shooting ability but that of your rifle's. Most gun clubs have solid shooting benches to shoot from. If you shoot elsewhere, a portable shooting bench is recommended. A good shooting rest like the Caldwell Lead Sled 3 Shooting Rest with sandbags or shooting rest bags like the RangeMaxx Stack and Shoot Bag set on top of the shooting bench will help ensure that your results are more about your rifle and ammo than about you.
Tip: Shop Shooting & Gun Accessories for more shooting bags at BassPro.com
5. The First Shot
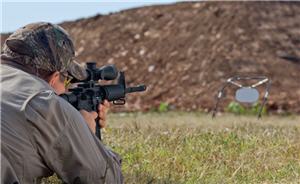 Your first shot should be at no more than 50 yards, and try to place a big piece of paper or other material behind your actual target so that you can still see where your shots are hitting even if they are not anywhere on the actual target. If you are not able to see where your shots are going at 50 yards, move up to 25 yards. Once you can see where your shots are going, you can adjust your sights or scope accordingly until your shots are hitting close to the center of your target.
6. Rifle Sight Adjustment
When adjusting iron sights, remember to move the rear sight up-down and left-right in the direction you want your shots to move. With a scope, read the manual to determine whether the scope's adjustments are 1/4-, 1/2- or 1-inch at 100 yards. Because these adjustments are based on 100 yards, if you are shooting at just 50 yards, you will need to double the number of clicks in order to achieve the same change in impact.
7. Testing Different Types of Ammunition
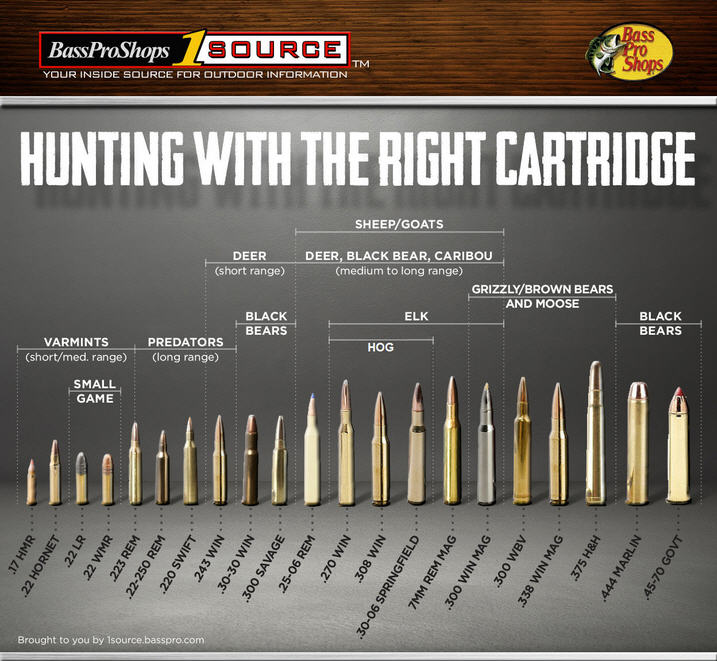 Ideally you will have a few different types of ammunition that you are trying, looking for what will be the most accurate in your particular rifle. To determine this, fire at least two three-shot groups of each type of ammo using fresh targets each time and see which gives you the tightest groups. Give your rifle time at least a minute to cool between shots as a hot barrel is detrimental to accuracy. If your barrel feels hot to the touch, let it cool some more. Don't worry about where your shots are hitting the target at this point (each different type of ammo will likely have a different point of impact) as you can adjust that later. You are simply trying to figure what your rifle likes; it will likely show a decided preference for one or two types of ammo.
Click here for a larger view of the rifle caliber chart.
8. Fine Tune the Rifle and Ammo Combination
Once you've determined which ammo your rifle prefers, it's time to fine tune your rifle and ammo combination for your anticipated hunting needs. Ammo manufacturers publish ballistics tables on their websites, in their catalogs or even on the ammo boxes to show you roughly where your gun should shoot that ammo at various distances. Smartphone ballistics calculator apps are also available for download.
Most published data will indicate both short range and long range sight in details. For hunting situations where long shots are unlikely, sighting in to be dead on at 100 yards is common. For conditions where longer shots are common, sighting in to be anywhere from 2 to 3 or more inches high at 100 yards will put you dead on somewhere beyond 200 yards, depending upon the caliber of course, which is helpful for shots out to 300 yards or more.
Following these simple steps will make sighting in your rifle quick and easy and have you ready to go hunting in a very short time.
- 132216 views

