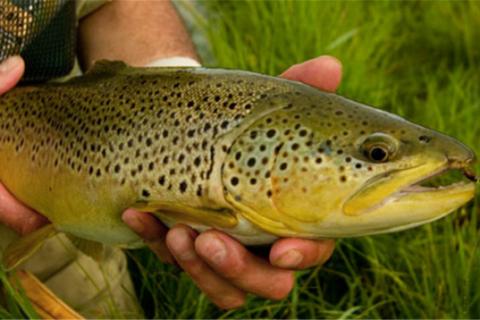
Today many anglers choose to release trout they catch, carefully twisting their fishing hooks free and watching as the quarry swims back into the stream with a flick of its tail-fin. That's a marvelous experience and leaves more trout available for all of us the next time we venture out. That's the approach I take almost all the time. But every now and then it's nice to eat a few of these delicious fish.
Clean Trout Quick
When you do decide to keep a few trout for the pan, it's important that they don't go to waste and are cared for in a manner that provides the best table fare possible. To ensure the freshest, sweetest meals, they should be dressed out on the stream or lake, immediately after they are caught or a short while afterwards. Fortunately, they are actually among the simplest fish to clean.
Trout deteriorate quickly in the warm weather typical of most fishing seasons if they are not cleaned quickly. One source of deterioration is bacterial growth which attacks the fish's internal organs, then spreads to the flesh. The second source of decay is the digestive enzymes in the fish which continue to act after the trout dies.

Removing the entrails immediately after the fish is caught eliminates both of these sources of unappetizing trout.
Steps for Cleaning Trout
Step 1: Using a sharp fillet knife, insert the point into the *** opening.
Step 2: Slit up the center of the trout's belly in a straight line. Do not cut deeply — just through the skin is sufficient. Avoid cutting the internal organs any more than necessary.
Step 3: Cut up to the gills. Stop before you get to the v-shaped point below the fish's jaws.
Step 4: Insert a finger inside the fish's mouth and press down on the tongue to extend the v-shaped tab on the bottom side of the fish's lower jaw. This tab is thick in the middle and thin on each side. Stick the knife through the thin part, from one side through the other, freeing the v-shaped tab.

Step 5: Hold the lower jaw of the trout in one hand with your thumb and forefinger and grasp the v-shaped tab you just freed with the other hand. Pull down on this piece.
Step 6: As you pull steadily downward the entire gill structure and entrails will come out with one pull.
Step 7: To remove the remaining dark-colored blood sac along the backbone, hold trout in one hand and run the thumb nail of the other hand up the length of the backbone.
Step 8: Wipe the fish with paper towels or clean ferns or rinse in water. If you use water, be sure to pat the fish dry with paper towels. Clean
Step 9: Place in a creel or cooler.

Step 10: Or better yet, slip immediately into a frying pan with sizzling butter and lemon juice!
Tips on Fishing Creels
Canvas creels like the popular White River Fly Shop Creel Bag or wicker creels will keep trout fresh for several hours if temperatures do not go above 70 degrees. Canvas creels should be periodically dipped in water to facilitate the evaporation process which keeps the fish cool inside. Wicker creels are best lined with wet leaves or ferns. If you have a cooler handy, place the fish on ice after dressing them.
- 1194 views