4 Things to Always Remember When Scouting With Trail Cameras
1. Camera Direction
Trail cameras can be very sensitive to sunlight making the camera direction key. Always try and avoid placing the camera in a location that will get direct sunlight. if you have to place the camera in the direction of the sun you may risk false triggers, sun flare on your images, and completely blown out photos. Mark Peterson describes it very well in the video below.
2. Trail Camera Intervals & Trigger Speed
On all trail cameras you should be able to adjust the interval and the trigger speed. The interval is the amount of time between photos and trigger speed is how fast after an object is detected that an image is taken. If your on a trail you want to capture the image as fast as the camera can so a low trigger speed is best. When looking into internals always think about what your trying to accomplish. Are you trying to count individual animals and size of antlers, or are you trying to get an idea of where and when an area is being used? Longer intervals will inherantly save battery life as well.
Tip: Here's the Easy Way to Pick the Perfect Game Camera
3. The Cameras Optimal Distance
Mark Peterson explains that 5 to 10 yards is the optimal viewing distance to set you trail camera. This means set your trail camera 5-10 yards from a game trail, mineral site, or field edge.
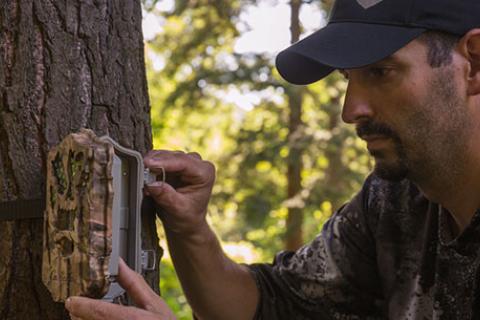
4. Trail Camera Height
Trail camera height is the distance from ground level you want to place you camera. Depending on the terrain a average rule of thumb is to place it at 3 feet from ground level. Cabela's Ambassador Mark Peterson talks about the appropriate height for situating a trail camera. In the case of setting up a trail camera over a trail, Mark places it lower, just a few feet above the ground, to get the best vantage point for a deer that may come by.
- 2893 views